
Clearing the cache and removing temporary files can speed up your PC. Even better: all of these utilities are already on your computer.
If your computer desktop looks a little chaotic and you’re noticing some performance slowdown, it might be time to do a cleanup. The best way to keep things running smoothly is to ensure you’re running the most updated version of Windows (you’d be surprised how many folks’ devices are several updates behind). But if you’re up-to-date, there are other things you can do to optimize.
Windows has a few helpful utilities that can free up some space (and they’re already on your PC). These utilities aren’t intended for large-scale repairs but can help make things run faster by cutting excess weight.
Regular computer usage results in stored cache files that can become corrupted and outdated, leading to operational quirks and slower boot times. Clearing this cache and other temporary files can improve performance and keep things running optimally. Here’s how.
How to use the Windows Cleanup recommendations
Windows 11 can identify large files, unused apps, and system files that can be safely deleted. This is a good place to start when optimizing your disk space. Here’s how to access these tools:
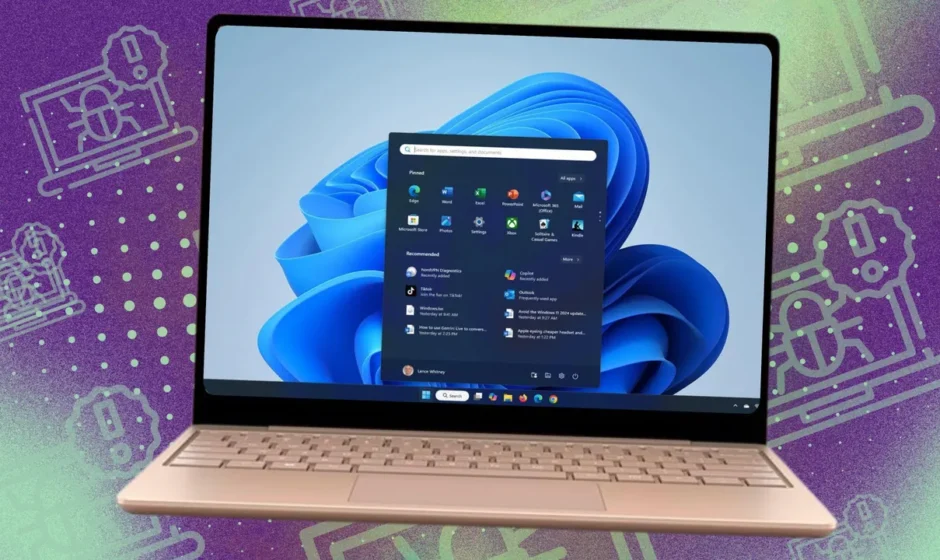
1. Click the Start button > Settings
2. System > Storage
3. Scroll down to “Cleanup recommendations”
This will bring up temporary files in your Downloads folder and the Recycle Bin. Nuking these files can free up several GB of disk space. Before you do, ensure you don’t need anything in your Downloads folder, as it could contain necessary files.
Other recommendations for removal will appear on this screen, including large or unused files, which Windows will bring to your attention.
Many of the large files it will suggest will be video clips or large image files, which you might want to review before deleting.
At the bottom, Windows will identify apps you rarely (or have never used) to consider for deletion. If you don’t need an app, you can remove it and reclaim the disk space.
How to use the Windows Disk Cleanup utility
Disk Cleanup is another utility that is accessible regardless of your Windows version. The easiest way to open it is to search for “Disk Cleanup” in the search bar and bring up the window.
The utility will then identify temporary internet files, setup log files, and various cache files that can be safely deleted to reclaim a few GB of storage space (hey, every little bit helps). Check the boxes of the file types you’re ready to delete and click OK. It’s that easy.
How to clear your PC’s location cache
Some data will be created when your PC syncs in a new location. You can safely clear your device’s location cache in Windows to free up more space. Here’s how:
1. Hit the Start menu and click “Settings”
2. Click “Privacy and Security”
3. Scroll down to the section titled “Location history” and click “Clear”
How to flush the DNS cache
If your internet browsing speeds aren’t what they used to be, one thing that could help speed things up is a flush of the DNS cache. This task is easy enough to do with one command. Here’s how:
1. Press the Windows key + R to bring up the Run command window
2. In the Run command prompt, type ipconfig/flushdns and press Enter
Optimizing Windows requires good file management habits and monitoring file creep is crucial. These cleanup utilities might seem small in impact, but they add up over time to keep things running smoothly.